Tuesday, December 16, 2014

Tears...Nothing but Tears

The road to hell is truly paved with good intentions.

I started out my holiday shopping season with grand ideas. I would embroider a whole bunch of gifts for family! It will be personalized! And awesome!

I was doing really well too.
Got through my sister's gift, my mom's, my father-in-law's and one of my mother-in-law's. Then I get to my dad's and BLAM! Tension issues all over the place. Thread breaks left and right. Then WOMP WOMP WOMP. The dreaded shutter and safety message. Machine needs to be serviced now :( Nearest service place is 3+ hrs away.
And....uhoh. I need to figure out what to do to make my dad's gift and a second half of my mother-in-law's. CHRISTMAS IS 2 WEEKS AWAY!! QUICK! HIT THE PANIC BUTTON!!

Yeah....that was me. Then I started breathing again. And gave myself a weekend to think. I ordered 2 shirts for my dad. I can buy an applique for the MIL's. Then I thought of another way I could do my dad's. So that all worked out nicely. Except I still have to pay to get my machine serviced....and I just got new embroidery designs. Tears....nothing but tears. And maybe brownies.

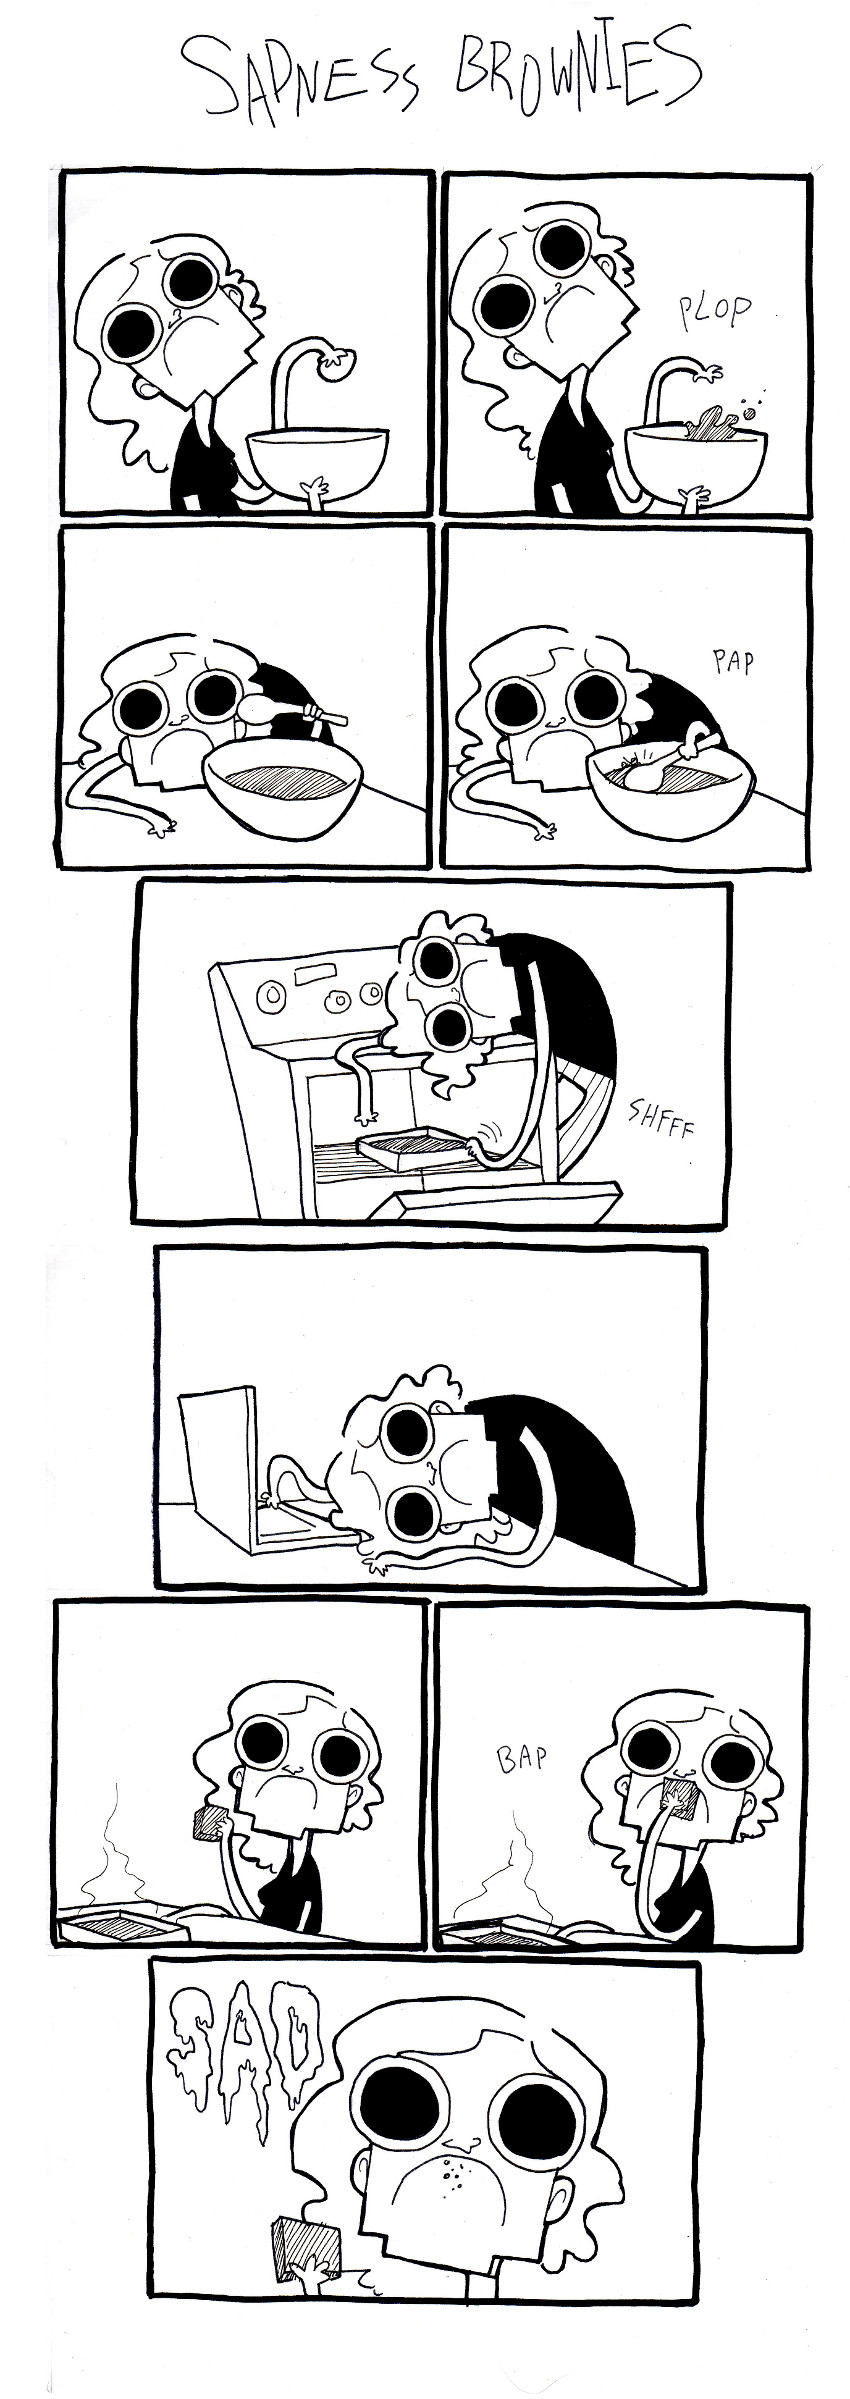
The comic is from Abby Howard over at jspowerhour.com and last-halloween.com. I love her stuff and YOU SHOULD TOO!

But! I will persevere! I am almost to my vacation. Cue "I Will Survive"

Wednesday, November 5, 2014

AAARRRGGG a.k.a. Why I Will Never Have Superpowers

AAARAARRRRG!!! I have said this multiple times every day this week. I can't seem to tame all the nasty, irritating things in my life this week.

This is what I felt like doing to multiple people. Thankfully, I didn't and therefore still have my job. I ran into a person (we'll call him Fred) who downright disrespected me during a presentation then proceeded to imply that the group I work for is pretty much useless. And I felt like punching him in the face. But I didn't. I was polite. Then I had a whole bunch of chaos in my personal life and scheduling which makes me crazy. Plus losing sleep. Plus having tons of stuff to prepare for the weekend. And so on. Then in comes the depression, self-hate voices. Those are always a blast.


Anyway, I was reflecting on what I need to do to rectify a few of these situations. I came up with a few personal organization items to get the chaos under control. I'm stuck at people though. You can't magical make people more pleasant. I learned this a long time ago. And I love my job most days which means I'm staying right here. And Fred isn't going anywhere. And I have to talk to Fred to do my job. *Sigh*

So here's what I'm doing. I'm going to vent here. Then, I'm going to seek supervisor guidance and I'm hoping intervention. If I had superpowers, I would explode his head, fly him to a deserted island or brain wash him (telekinesis, flying, and telepathy respectively). But this is why I will never have superpowers. I would use them. Like, all the time.

Then I'm going to try this:

So, here are some things I love:
-Music! I play in a community symphony band and love all sorts of music.
-The Body Love Movement. This has been a powerful movement for me. It has moved me a lot in the past few months. Moved me to self-love and acceptance. To be more accepting of others in any size.
-Animals! My pets are the best and cheapest therapists. They are all adopted and all wonderful. Adopt!
-Sewing. So therapeutic. Plus clothes are born of it.
-People I work with in my department. They are seriously awesome people.

<3

Tuesday, October 14, 2014

Body Love Y'all

Hey Y'all. This is one of those "this-is-what-I-struggle-with-and-think-about" posts. So probably TMI for most. You've been warned.

So, I've been struggling with body image my whole life. I have always been wrong in some way according to doctors/peers/media etc. In my younger years, I let it bother me a lot. I was teased for being fat by peers, called overweight and/or obese by doctors, and constantly being told by clothing companies and media that my body was not worthy of trendy clothing. Eventually, as I hit college, I said "fuck it" and became comfortable with what I looked like. Fast forward 7 or so years and I'm in my doctor's office for a yearly. I've been to this doctor 2 times prior and she doesn't say boo about my weight. All of a sudden (due to a 10 lb gain because I quit yo-yo dieting), she is lecturing me about food and exercise and whatnot. Suddenly, I'm back in middle school worrying about every bulge and curve. I worked out like crazy and heavily restricted my calories. UNHEALTHY. I lost 8 lbs in a month but, y'all, I was cranky. And it was never enough. I always wanted to lose more. But here's the really crazy part. My blood pressure was great. My cholesterol was good. EVERYTHING ELSE WAS GREAT! I was, for all intents and purposes, healthy-even at that weight.

So, here's the moral of the story. Hating yourself does you no good. Ever. After my craziness, I bounced up in weight and then finally settled back down exactly where my weight was before. I learned to love myself as I am and guess what? I haven't changed size but I'm happier and more relaxed. All those things that people say losing weight does for you. And you know what? One size doesn't fit all. Loving yourself does way more for you than losing a couple of pounds.

Sunday, March 9, 2014

Make Your Own Vintage Buttons

This button broke! It goes on one of my favorite shrugs.
You know, there are very few things in sewing that make me really, really sad. Running across a beautiful vintage button and needing eight when there is only one is definitely a major depression bringer. The other is losing/breaking a specialty button on one of my favorite clothing pieces. Luckily I have figured out how to remedy BOTH problems!
I discovered this method for making your own buttons through some trial and error as well as some internet research. If you want to post it elsewhere, please feel free to share the love- just link back to my blog.

Materials List:

  • Button you want to copy, charm to make into buttons or idea of button you want to make
  • Cornstarch
  • Plastic or metal bowl
  • 100% silicone (must be 100%!) caulk
  • Caulk gun
  • Sculpey clay (or other bake-able type clay)
  • Fondant roller (small is great-$6 at Walmart in cake decorating section)
  • Plastic placemat (or other item to shield your table...placemats are cheap and reusable)
  • Sculpey mini cutters (if you so desire, I find them helpful for basic button shapes)
  • Toothpicks
  • Gloss or matte acrylic spray (I prefer gloss)
  • Jump rings (Jewelry section. These are optional for shank buttons)
Buttons/items for molding
Materials

More materials


For basic geometric shaped buttons, work some clay in your fingers. Roll out to whatever thickness you want. Cut shapes. layer is desired. Poke holes in them using toothpicks. Then bake at 275F for 15 minutes for every 1/4" thickness.


Shapes


Layered Shapes
Toothpick Holes

Now, for molded buttons:
First, get your work area set up. Lay down the placemat, get your caulk in the gun, put cornstarch (a few inches deep or so) into the bowl, and lay out your other materials so they are easily accessible. Next place a glob of silicone into the cornstarch. how much you put depends on how many buttons you are molding and how big they are. Use your best judgement.
Silicone in Cornstarch

Next work the cornstarch into the silicone until it is no longer sticky but still workable. It will feel sort of like warm clay.
Worked Silicone

Flatten it slightly on your placemat. It should be thick enough to handle your buttons and not have them poke through on the bottom but not so think that it doesn't set. 1/2 to 3/4 of an inch seems to work just fine for most buttons.

Press your button into the slab and leave it to set for 90 minutes.
When the time is up gently peel the mold off of the button.
Completed Mold
I usually test my molds with some play-dough.
Testing, testing...
Now, you are ready to mold! I prefer using the Premo! Sculpey. It tends to be less soft than regular Sculpey and holds the mold better without getting stuck in the mold. Press the Sculpey into the mold firmly. Add a jump ring on the back for a shank. Otherwise, you can lay down a piece of toothpick and mold a clay shank. If you don't want a shank, just gently unmold and use toothpicks to create holes.
Molding with Jump ring

Molding with toothpick


You can also add jewels. Just mold as normal and very gently press the jewels where you want them.
Molded version with Original

Then bake at 275F for 10-15 minutes per 1/4" thickness. Watch them carefully so you don't overbake them!
You can then paint them with acrylic paints. Then spray them with the sealant, let dry and they are ready to go!


Good luck with your buttons! Hope you found this tutorial helpful!


Monday, February 10, 2014

A Next Project Preview


1932 Ladies' Street Dress Pattern, size 44" bustOk Kids! Short post today as I feel like poo but have made myself promise to update my blog with each project I do. I'm starting work on a 1932 day dress turned evening dress. The pattern will be the Eva frock from Patterns of Time! I love, love, love the look of this dress (yes, it's connected. It looks like two pieces but is actually one!) and i can actually wear it with a belt which means my curvy frame won't look awful in it as it does with most "shift" type dresses. Whoo!  
Anyway, I went through a lot of hmming and hawing about what type of fabric I wanted to make this is and what colors/patterns. I wanted it to be very elegant and evening wear slanted as I am going to be wearing it to Cabaret on Broadway in April when I go to NYC with my hubby. Initially I looked for a plaid but decided against it. Then I decided on satin as the fabric type which gave me the desired texture. However, I had a hell of a time with colors/additional textures. I seemed to have gotten stuck on this idea of it needing more texture. So I was trying all sorts of overlays (think sheer sequins and fringe and the like) out in the fabric store. Ended up liking none of them. so I decided on an ivory satin for the "blouse" portion and a black satin for the skirt. Going to do the short sleeved version with a black bow to match the skirt. Will try to keep better track of my "in progress" work so I have better photos than most of my projects end up having. 

Friday, February 7, 2014

Fearless February Sew Along: Le Smoking Jacket


Hello all!
This month I decided to do the fearless February sew along over at http://tenthousandsewinghours.blogspot.com/

For this challenge, I decided to take on a project that I've been putting off for a year.....a smoking jacket for my husband out of brocade made from the Le Smoking Jacket pattern.

I was terrified of doing this jacket for a few reasons:
1) I'd seen several people comment that this pattern is hard to follow.
2)It was going to be made out of brocade! Very slippery and always makes me swear for one reason or another.
3)I would have to alter the pattern a little to fit my husband's broad chest.
4)My husband really, really, REALLY wanted this jacket. This terrified me because I really didn't want to screw it up and have him disappointed.

But, in the spirit of the sew along I broke out the fabric and pattern that I had stashed in the closet and started working on it. It just so happened that I got sick right around that time so it got completed very quickly because all I did was stay in the house and sew.

First I cut the pattern. I will say thank God I know what pieces I need for things as this was the most unclear part of the whole pattern. As always, I had a bit of trouble with the brocade moving while cutting but wasn't too bad.


This is what the fabric looks like that I ended up working with.

All through the sewing, the only real trouble spot I ran into was the sleeves. they just didn't want to lay right for me. UGH! But, eventually, through much swearing, I got them to lay well enough.

The lapel was also a bit difficult to get to stay in place but that was nothing a few stay stitches here and there couldn't fix!!

Anyway, all said and done I was very happy with it and, best of all, my husband LOVED it! See his modeling pictures below. I'm very glad I decided to participate and tackle this project that has been haunting me for over a year!! What a relief! Let me know what you think!!